
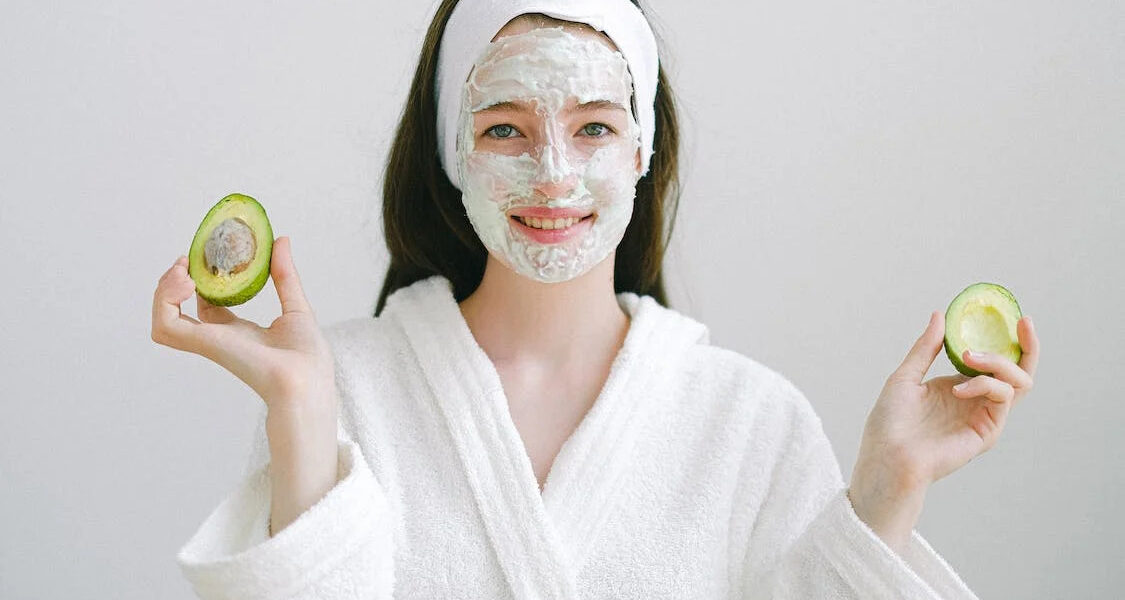
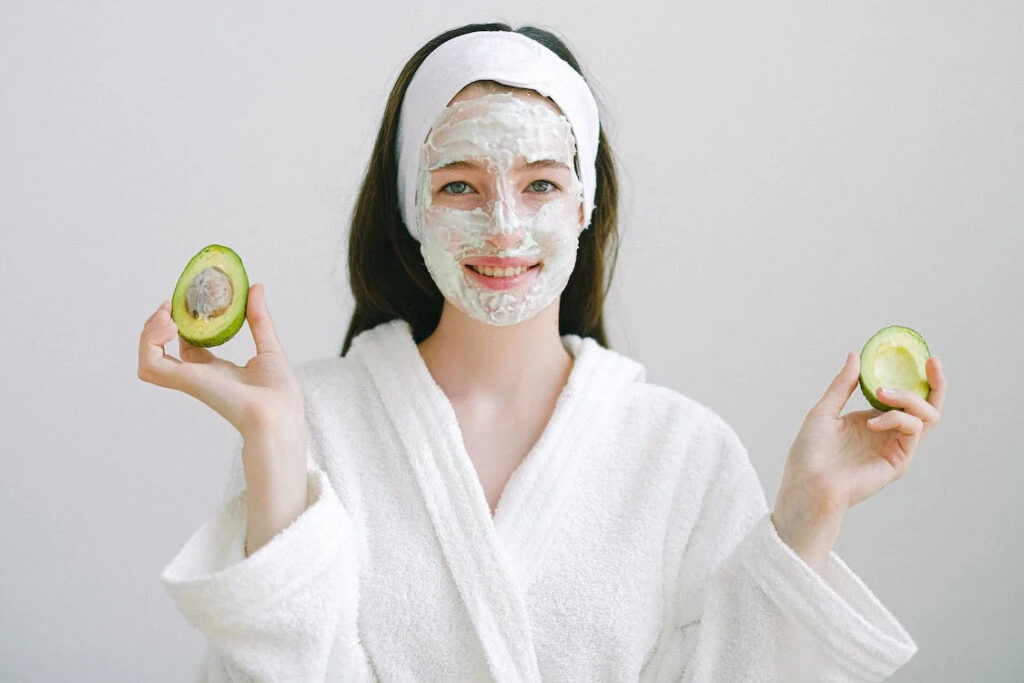
When it comes to natural skincare, the humble banana is a hidden gem. Bursting with vitamins, minerals, and antioxidants, bananas offer a plethora of benefits for your skin. From moisturizing and nourishing to brightening and soothing, a homemade banana face pack can be a game-changer for achieving a healthy and radiant complexion. In this blog post, we will guide you through a simple and effective DIY banana face pack that you can easily whip up Banana face pack at home.
Benefits of a Banana Face Pack::-
Using a banana face pack can provide numerous benefits for your skin. Here are some key advantages:
- Hydrates and moisturizes: Bananas are rich in natural oils and potassium, which help to hydrate and moisturize your skin, leaving it soft, supple, and well-nourished.
- Brightens and evens out skin tone: The vitamin C content in bananas promotes collagen production, enhancing skin elasticity and brightness. Regular use of a banana face pack can help reduce the appearance of dark spots and uneven skin tone.
- Soothes and calms skin: Bananas contain anti-inflammatory properties that can soothe irritated or sensitive skin. They can help reduce redness, itching, and inflammation, making them suitable for all skin types.
- Fights signs of aging: The antioxidants present in bananas, such as vitamin E, protect the skin from damage caused by free radicals, thereby reducing the appearance of fine lines and wrinkles.
DIY Banana Face Pack at Home Recipe:-
Now, let’s delve into the step-by-step process of creating a simple and effective banana face pack:
Ingredients:
- 1 ripe banana
- 1 tablespoon of honey (for added moisturization and antibacterial properties)
- 1 tablespoon of yogurt (for gentle exfoliation and added nourishment)
- 1 teaspoon of lemon juice (optional, for brightening and toning)
Instructions:
- Start by peeling the ripe banana and placing it in a bowl.
- Mash the banana thoroughly using a fork until you achieve a smooth and creamy consistency. Make sure there are no lumps.
- Add honey to the mashed banana and mix well. Honey acts as a natural humectant, attracting and retaining moisture in the skin.
- If desired, incorporate yogurt into the mixture. Yogurt provides gentle exfoliation, removing dead skin cells and revealing a brighter complexion.
- For those looking to brighten their skin further, add a teaspoon of lemon juice to the mixture. Lemon juice contains natural acids that help tone and clarify the skin.
Application and Usage: Follow these instructions to apply the banana face pack correctly:
- Start with clean, dry skin. Tie back your hair to prevent it from coming in contact with the face pack.
- Using clean fingers or a brush, apply an even layer of the banana face pack to your face and neck, avoiding the delicate eye area.
- Allow the face pack to sit on your skin for approximately 15-20 minutes. Relax and enjoy the soothing sensation.
- Once the time is up, gently rinse off the face pack with lukewarm water.
- Pat your skin dry with a soft towel and follow up with your regular moisturizer to lock in the hydration.
- Use this banana face pack once or twice a week for optimal results and a rejuvenated complexion.
In Market option for Banana products:-
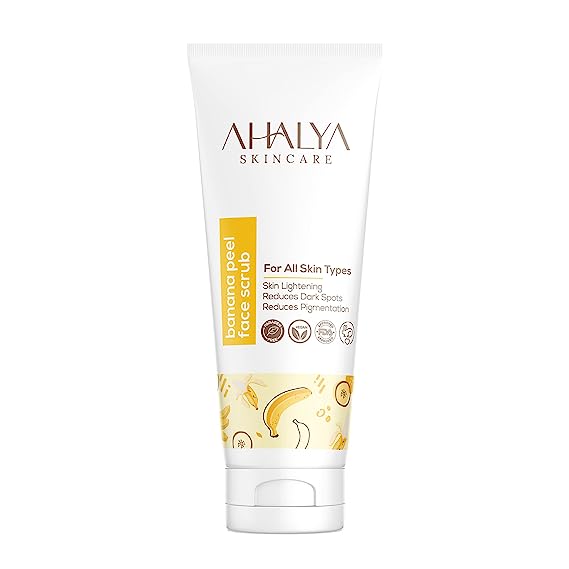
Skin Secrets Banana Facial Kit with Banana Extract & Vitamin E Oil for Brighter Complexion

Conclusion:-
Unlock the skincare potential of bananas with a homemade banana face pack. By harnessing the natural goodness of this fruit, you can achieve moisturized, brightened, and healthy-looking skin. Embrace the simplicity of a DIY skincare routine and indulge in the nourishing benefits that a banana face pack offers. Reveal your natural glow and enjoy the radiant results that this humble ingredient brings to your complexion.
Note:- Remember to always patch-test new or first-time apply and consult with your doctor if you have any specific concerns or allergies.
Accept yourself, love yourself, and keep moving forward. · “Be gentle with yourself.